Geocaching in Chicago, Part III: Getting Started
By L. Stolpman in Miscellaneous on Oct 19, 2009 5:40PM
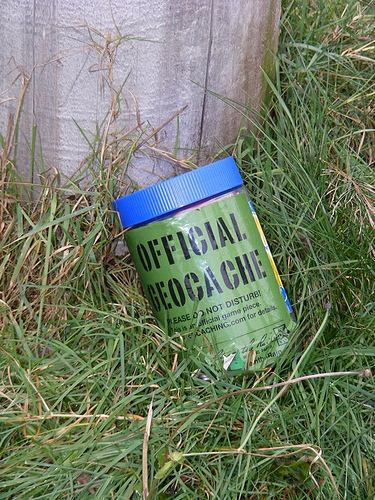
Welcome back to the series, adventurers. Our apologies for the delay! How the heck did we get the mother of all colds so early in the season? In Part I of our series, we learned about geocaching. Part II covered how geocaching can help you learn about the city. In this part, we'll cover what you need to get started.
First things first. You're going to need a GPS. While there are programs for iPhone and Blackberry that are very helpful in locating geocaches, they are not as precise as a GPS and are best playing a supporting role in geocaching activities. A GPS will get you within eight feet or so of a cache whereas the software programs for mobile phones are probably closer to 40-50 feet. This doesn't mean that you should overlook these programs; they may often provide a more detailed overhead map than the GPS device. The most popular GPS device in use right now is the Garmin 60csx though the Garmin Oregon series is gaining in popularity.
Once you have GPS in hand, we went to geocaching.com and entered in our zip code to find what treasures were nearby. The list of geocaches available pops up. You can click directly on one of these links to a particular cache to read more about it, get hints and read the log of people who have searched for and found (or not found) the cache.
Now, let's say you want to look for a particular cache. Plug your GPS into the computer. If this is the first time you've done this, you may have some popups instructing you on software, etc. When we plugged ours in, we were told exactly what we'd need to install in order to drop our cache locations directly into the GPS. Once you've loaded your software, your GPS is connected to your computer, and you've found a cache you like, you click on the "Send to GPS" button on the screen showing the cache. The information will be zapped on over to your GPS. Add as many as you'd like! Your GPS will most likely have a specific menu item for geocaches and that's where the location information is stored.
Now you're out and about in the city with your GPS loaded with cache locations. If you turn on the GPS and go into your Geocaching menu, you can see a list of nearest caches, their distance from you and in what direction they are located. Follow the direction arrow on your GPS and narrow down the location of a cache. You're officially geocaching.
Next in the series, we'll be talking about some tips on how to geocache in the city.
