Essential Tips For Photographing The Solar Eclipse Next Week
By Staff in Arts & Entertainment on Aug 17, 2017 5:53PM
On Aug. 21, Americans will have the rare pleasure of seeing a total solar eclipse. And if you're like most, you might want to know how to take great photos of it. We’ve rounded up some helpful tips and tricks for getting the best photos possible next week.
By Tyler LaRiviere/Chicagoist
Solar Eclipse, photo via Getty Images
You Need Eye And Camera Protection
The sun emits dangerous ultraviolet rays that can damage your eyes, so make sure you wear certified solar eclipse glasses; they are lined with a solar filter that protects your eyes from harm. Also, try not to stare at the sun, or at least limit your time doing it.
Whether you are using a professional DSLR or your cell phone to take photos of the eclipse, protection from the sun’s harmful UV rays is essential. Just like you need to protect your eyes, it’s recommended that you get Solar Filters to protect your camera from damage from the UV rays. They can damage your camera’s sensor, auto focus system and burn holes in your shutter curtain.
If you are using your phone, you can use an extra pair of solar eclipse glasses and hold one of the lenses of the glasses up to the camera on your phone. For Professional DSLRs you can use the more expensive 18 Stop Neutral Density filters. Or to save some money, you can buy Solar Filter Film online and rig it in front of your camera’s lens. I’m planning to sandwich the solar filter film between two pieces of cardboard with holes cut into them.
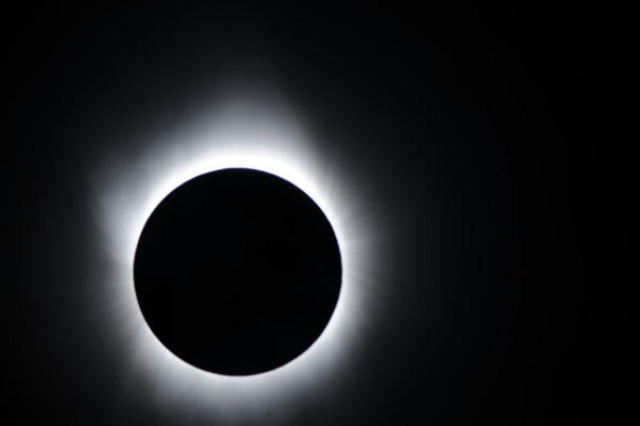
A total solar eclipse viewed in Asia, in 2009 (Photo by National Astronomical Observatory of Japan via Getty Images)
Use Your Lenses And Zoom Features Liberally
Though the sun seems pretty big in the sky, when you point your camera up to it and take a photo it looks tiny. You’re simply going to need to zoom—a lot—if you hope to capture a good picture of the eclipse. If you’re on a camera phone, zoom in as far as you can, or use lens augmentation devices that fit in front of your camera and can offer additional zoom.
For professional setups, it’s recommended that you have at the very least a 300mm lens. You can either use the camera’s crop mode or a teleconverter, if applicable, to enhance your zooming abilities. Some teleconverters on the market can double your current zoom, making a 300mm lens act like a 600mm lens.
If you don’t have access to massive lenses then try to capture the atmosphere, people will be going nuts as the eclipse is happening.
Understand The Stages Of The Solar Eclipse
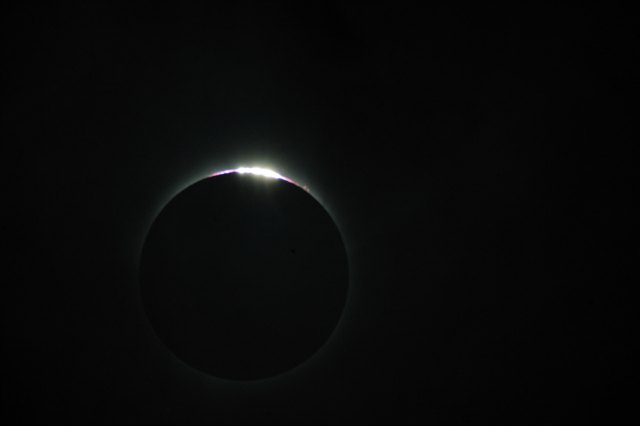
Total Solar Eclipses happen in five stages: First Contact, Second Contact, Totality, Third Contact and, finally, Fourth Contact.
First Contact is when the moon slowly starts to move in front of the sun; during this time you must use solar protection for your eyes and cameras. Second Contact is when the moon has almost covered the sun entirely; during this time solar protection to your eyes and cameras is still required. Totality is when the moon has completely covered the sun, creating a fiery ring visual effect around the sun; if you are located in the path of totality during this time, it’s OK to remove all solar protection from your eyes and camera. In fact, to get a proper exposure removing the solar filter from the lens is required. Third Contact is the phase in which the moon is starting to move away from the sun; during this time, put your solar protection back on your camera and eyes. The Fourth Contact phase is when the moon has almost completely moved away from the sun; keep wearing your solar protection during this time too.
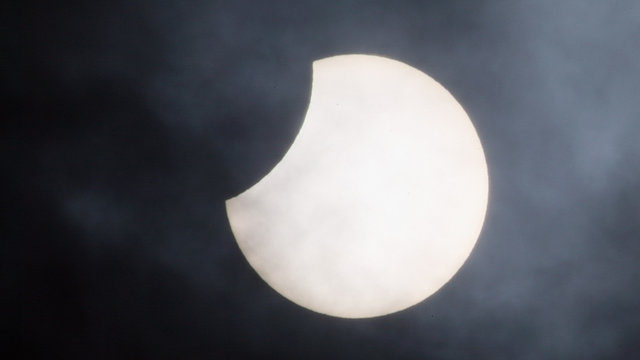
A partial solar eclipse, via Getty.
Using The Right Technique and Settings
Now that you’re ready to photograph the eclipse and you understand what you’re photographing, it’s time to get down to work.
First, make sure your camera is secured with a tripod. If you don’t have one or are using your phone, try to find a comfortable spot and brace position to hold for a while. Second, make sure you're using manual focus and focus in on the sun (using your solar filters and protection). Third, lock in your settings for the First, Second, Third and Fourth phases. I recommend using ISO 200-400 from F/5.6-F/8 and shutter speeds between 1/4000 and 1/1000. Factors such as the lens, camera, solar protection, and location all can change the exposure settings requirements,, but play around until you get a result you're happy with.
For the totality, you need to remove the sun filter, and you need to work fast, as the moment is fleeting. Bump your ISO to 640 and aperture to about F/10, but bracket the shutter speed from 1/1600 all the way to 1/13. Once you’ve done that, be sure to get your settings back in place for the Third and Fourth Contacts, and put you sun filter back on.
Follow the above steps and you should have excellent photos of the total solar eclipse, and if you want to show them off send in your best photos to tips@Chicagoist.com and we might show them off. If you have questions that aren’t answered above email tyler@chicagoist.com or tweet me at @TylerLaRiviere.
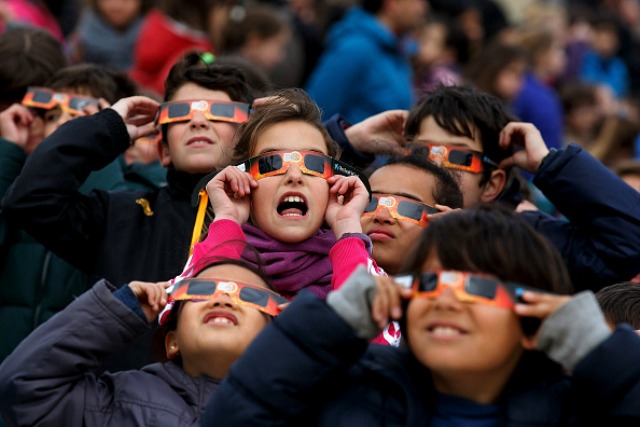
Kids get stoked for a partial eclipse in 2015. Getty Images / Photo: Pablo Blazquez Dominguez